Hacking Utopia
We are facing diverse and complex challenges on a global scale that need to be solved creatively. For product designers this implies a shift of perspective: besides the classic field of designing for 3-dimensional needs we will have to increasingly get involved into designing societal processes and sustainable concepts.

Society of Owners
Freelancers shouldn‘t live in precarious conditions. Cooperative organizations that provide freelancers with employment and compliance services can function as a bridge to more flexible ways of working. We are connecting these organizations, the talented people who demand better working conditions and consumer options, and the future economy through service design and social innovation to amplify cooperative economics and social justice.

PORCELAIN EVOLUTION LAB
The project is devoted to surface design as a haptic-functional and sensually-experienceable interface between human and object. Through different methods we will develop a systematic catalog of variations which will be archived digitally and documented qualitatively. The work process is to be understood as an experimental evolution from analog to digital to hybrids.

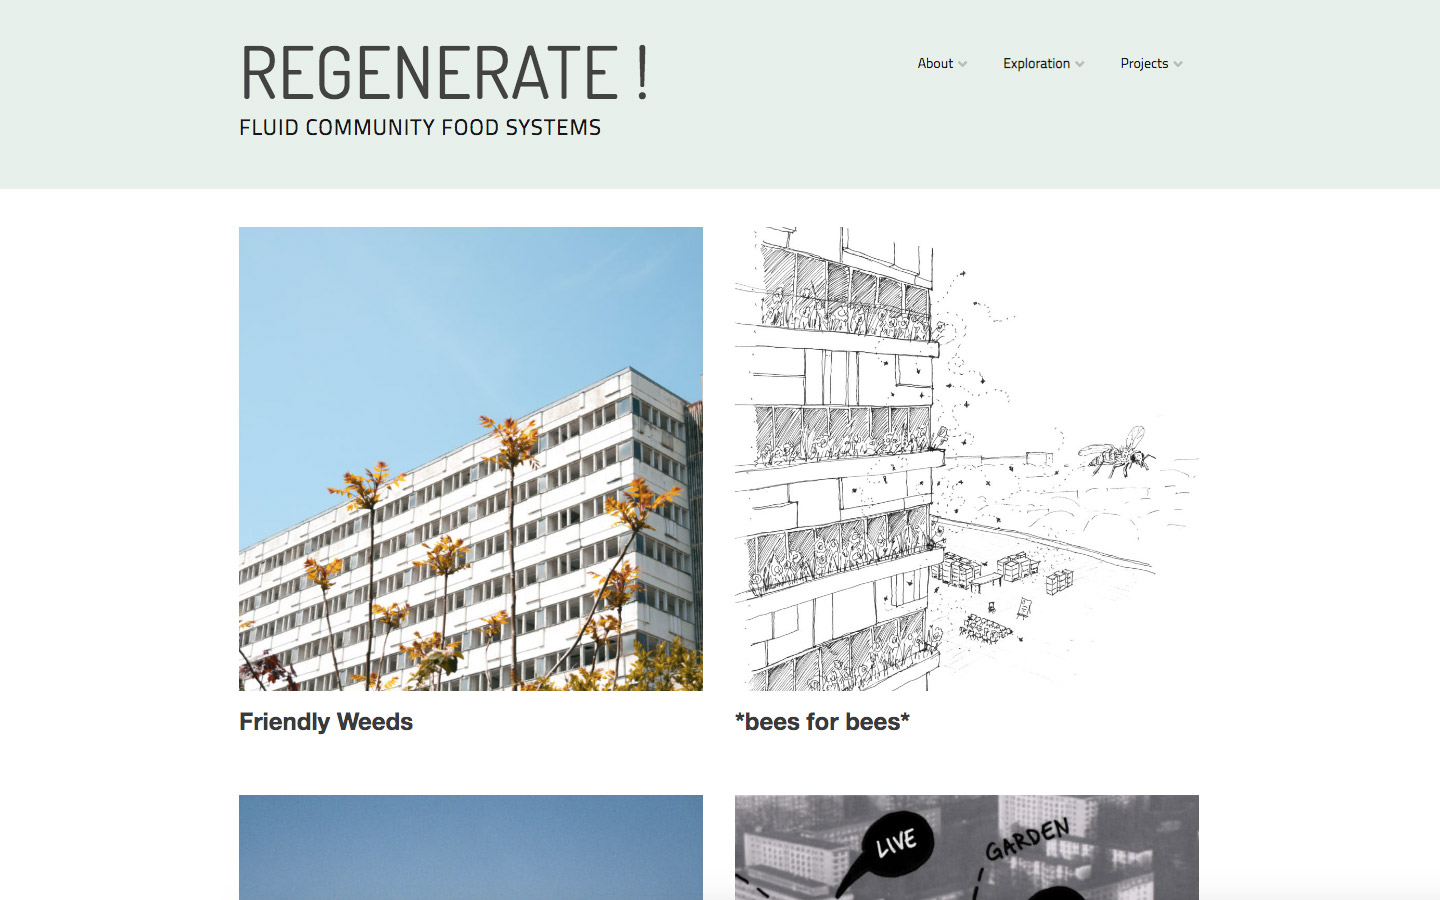
Regenerate
By acknowledging the city as a living system where things grow organically, offering a new human centered fluidity, we approached its territories as a fertile ground for community regeneration and a healthy (fair, resilient, circular, sustainable) local food system, while understanding ourselves as agents of change by designing and producing genuine urban abundance. This living city is already emerging with new kinds of infrastructures: food coops, collective urban gardening and farming, craft breweries etc. These infrastructures empower different agents to create new hybrid structures for the future city. On the other hand such places of empowerment deliver the ground for negotiating the urban and for self-determination of marginalised actors. We examined them under different aspects e.g. gardening as a social practice or how the urban space can be activated for food production.
Envoke
Labels, DSPs, PROs, distributors, publishers... with so many different sets of data, who is the definitive authority on music rights? Enter blockchain. Blockchain technology allows for the creation of a single repository of rights, creating a new digital commons for the independent sector. Learn more in our intro to the technology and explore details about our catalog pilot.

The Love School
In a co-creation process between students of product design at UdK and pupils from Love School in the Slum Kangemi in Nairobi, Kenya, designs have been created that focus on craft, material understanding and form development. Both cultural environments served as sources of knowledge and inspiration. A variety of multifaceted object with hybrid aesthetics have come into being that evince an autarchic identity both as high end products as well as DIY variation. Experiments and developments were done with porcelain, clay, plaster, fine metal, fibre, sisal, veneer, plastic bags, PET bottles, corrugated sheet metal and bulk trash.

Available for artists, activists and renegades in all combinations.
Apply using the form and we'll get in touch.